Arch is a name I have only recently come to know. But they (or should I say he) have been around for going on 11 years now. Andrea is a one man show – from answering emails, posting to social media, designing and building packs, the entire brand is managed by a single individual. Arch began in Italy in 2010, with a small simple lightweight bag design. From there he began building bags bags for friends, and from that Andrea’s passion grew.
Arch’s goal is to offer any type of custom product, bags and accessories, with a main focus on backpacks and bike-packing gear. There are some standard offerings to help showcase the work that Arch puts out, one of which is the pack that caught my eye: the Grisetti. The name is distinctly Italian, being named after Andrea’s uncle who built a bivouac on Mount Moiazza. And, just like the view from Mount Moiazza, the Grisetti pack is awesome.
Tech Specs
| Imperial | Metric | |
| Height | 22.04″ | 56cm |
| Width | 11.02″ | 28 cm |
| Depth | 8″ | 20 cm |
| Weight | 2.5 lbs | 1.13 kg |
| Capacity | 1830.71 cu. in. + expansion | 30L + expansion |
| Metric | Imperial | |
| Height | 45cm | 18in |
| Width | 25cm | 10in |
| Depth | 15cm | 6in |
| Weight | 1Kg | 2.2lbs |
| Volume | 18L | 1080cu in |
Primary Materials:
| Main Body + Rolltop | X-Pac VX 21 Black |
| Front Panel | PU coated Cordura |
| Bottom | 100% Kevlar |
| Lining | PU COATED NYLON RIPSTOP RED |
Quality and Comfort
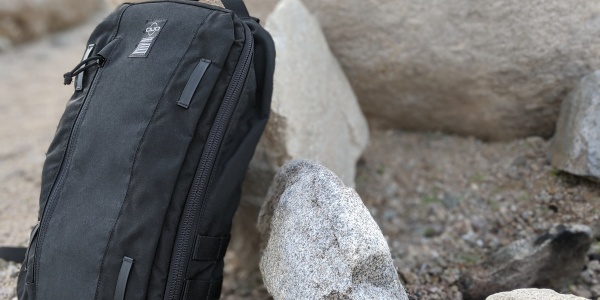
Once out of the box (the tape used was more than enough to survive international transit), the Grisetti looks great. I might be a little biased to the aesthetic since I chose the materials and colours, but that’s part of the appeal of buying from Arch.
The build quality of the bag is great. I found no flaws in the stitching or materials of the bag. For the custom-build I went with a simple black and red look, but it’s easy to get crazy with the bag: Andrea will simply buy any materials needed to make your bag come to life. Since it is a one-man show, the attention to detail definitely shows in the build of the bag.
All the hardware used is name brand: YKK AquaGuard zippers, Duraflex clips and components. The AquaGuard zippers all worked really well, with no snags. They are all straight line zips, so there isn’t much to get hung up on, but water-resistant zippers sometimes have a habit of just getting stuck sometimes. With the Grisetti, this was not an issue for me at all.
One neutral point I have with this bag are the shoulder straps. They are in no way uncomfortable to wear, and I had no issues with comfort with a load of any size, but the foam used is a tad thin. I feel as though they could be a bit beefier. The caveat here is that they have no break in period. I was able to toss the bag on and go. They conform well to the body, are not bulky or stiff and ride well.
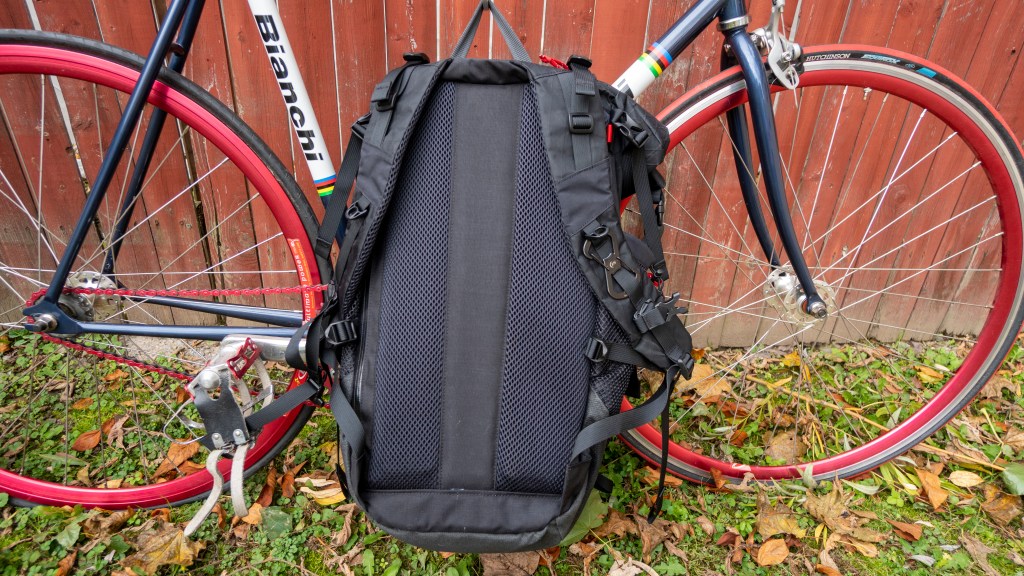
The straps also have load lifters, which will help you get the ride just right. For me these were great, because I opted not to get the hip belt with my bag. That was a personal preference (it probably saved me a few bucks because there was less work/materials used for the bag), I just don’t really like them and rarely use them, but a padded belt is available from Arch if you need one.
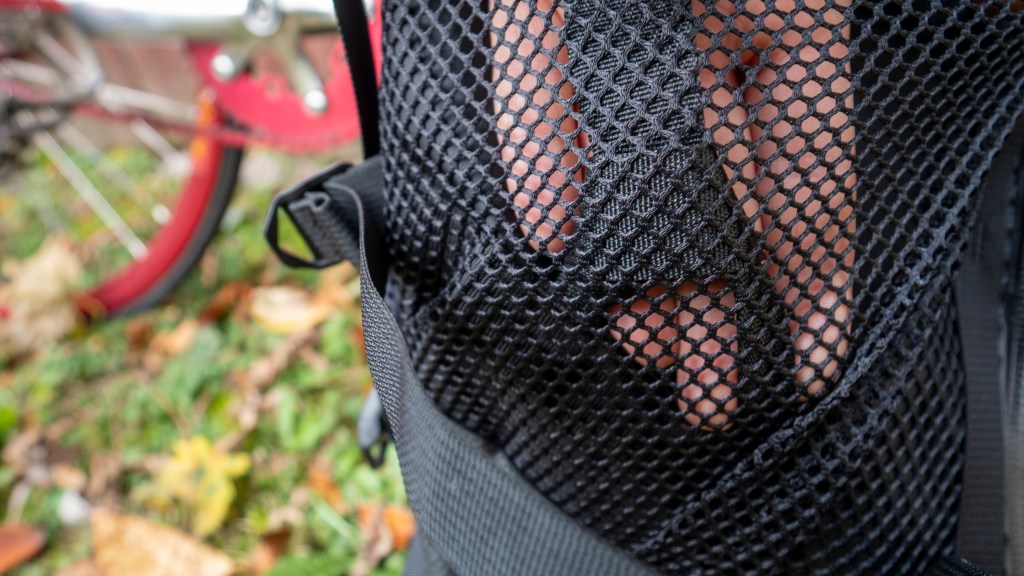
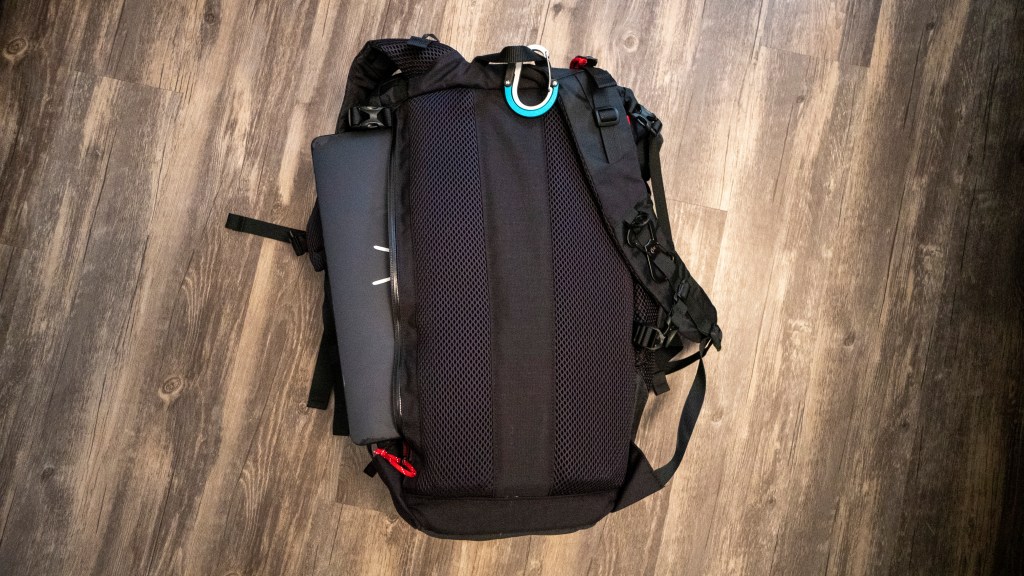
The back panel is the same foam and, like the straps, is pretty comfortable. It is a simple design, so not made for max airflow. But let’s be honest, we are wearing backpacks: no matter the amount of time and testing that goes into a back panel for max airflow, we are going to sweat when it’s hot out. Our shirts are going to get wet. So even though there is not a ton of channels on the back panel, it was fine to wear. I didn’t sweat excessively wearing it. It felt and carried just fine.

Organization and Access
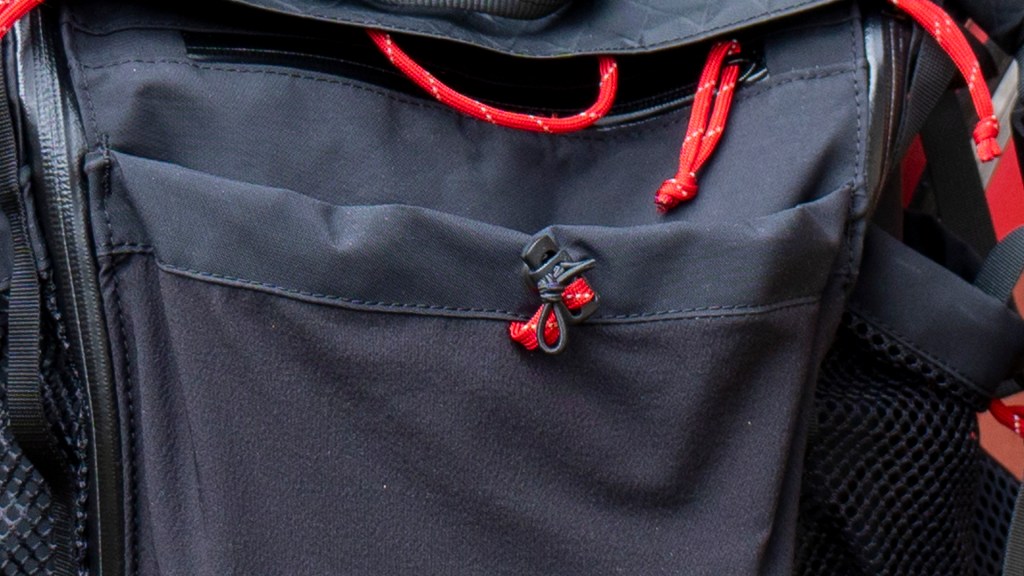
As far as the main body, I chose about a 50/50 with roll top and front zipper of the bag. On first testing, I had some trouble with the front access. There is a flap that covers the opening at the top of the zipper pulls, the sides of which are sewn to the bag to prevent an opening that could potentially let in water if it rains. I thought this flap would just flip right up so I looked like a fool the first time I tried to open it (yes it is on film and you can see me look like an idiot). But Arch’s design is actually pretty great, as it prevents potential for user failure and keeps the bag dry on the inside. Once I’d solved that, both ways of entry into the bag worked pretty well for me.
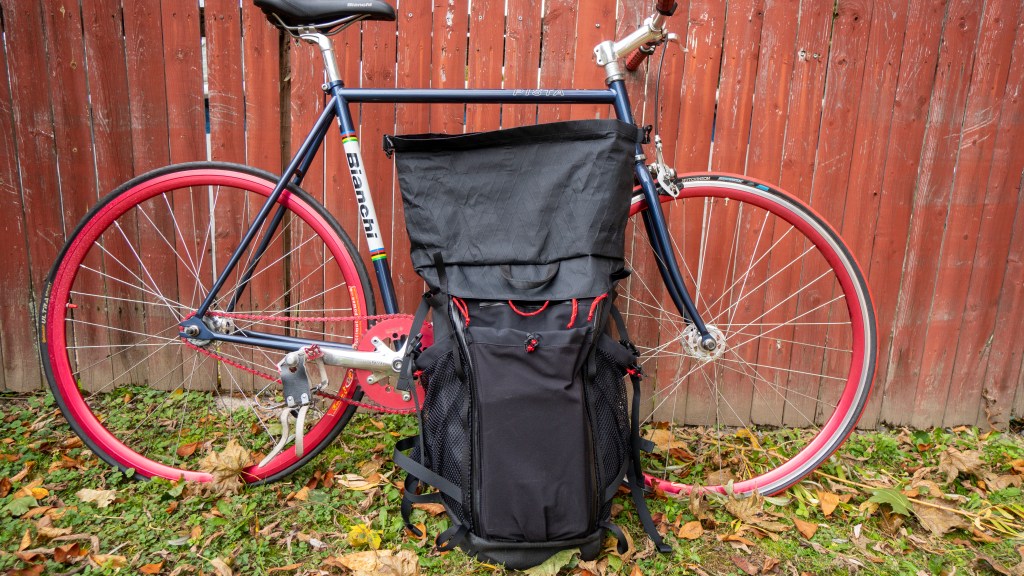
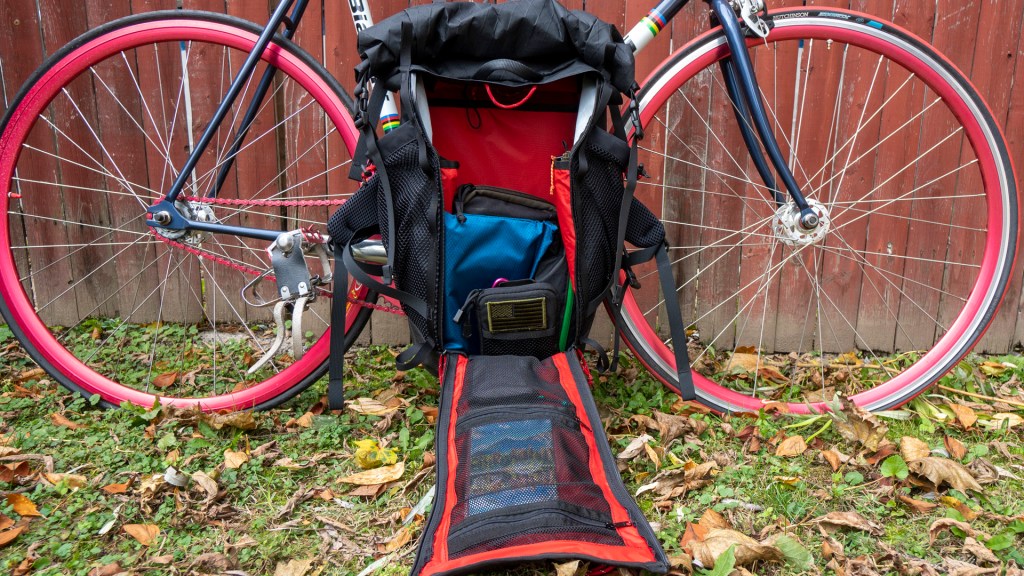
I should note here, I chose a dual zipper design on my bag. This allows the whole front of the Grisetti to peel down, kind of like a clam shell. Arch does offer an option of just one zipper on the front for access. I like that the option is there, but if I want to open the bag that way, I still can. And I have the option of opening left or right side, depending on what I am trying to access.
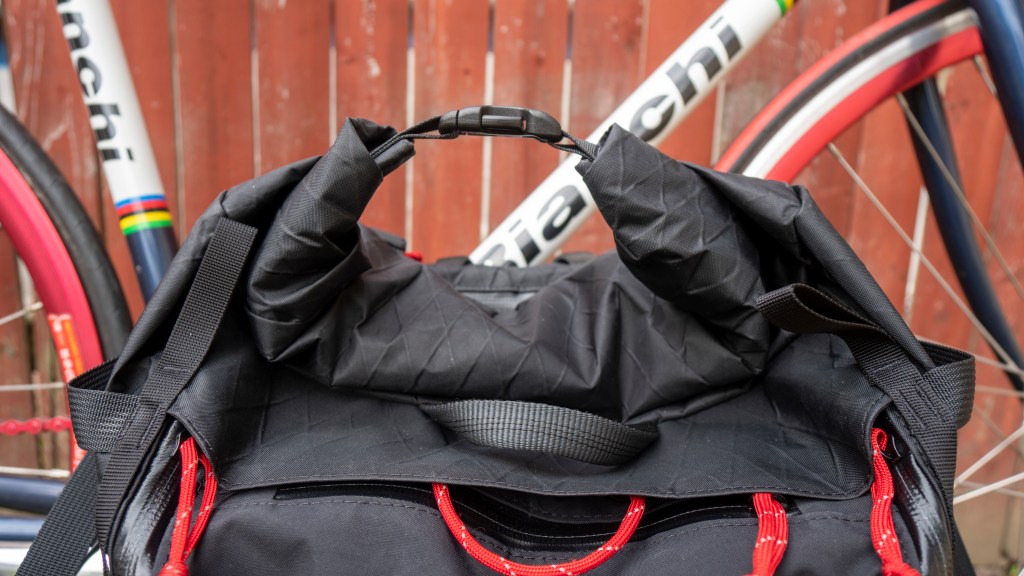
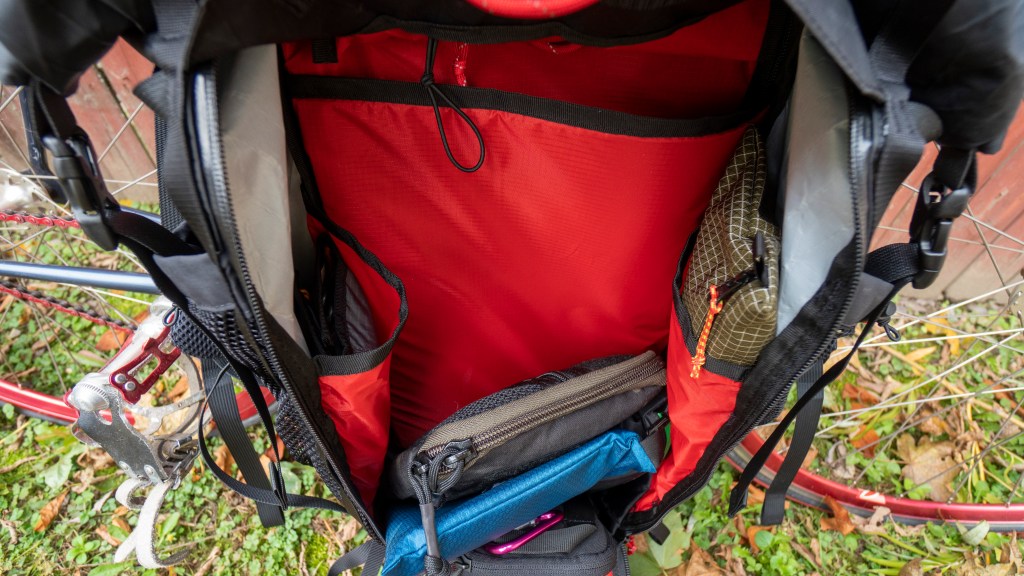
I also asked Andrea to add additional side buckles for the rolltop to the pack. This means I can use the standard drybag closure method of rolling and clipping in the centre, which Arch offers as standard, but I can also clip the rolled section to the side. Once the bag is open I can clearly see into my pack. The red his vis interior color I chose also helps with seeing and finding what’s inside the bag. There is also an sleeve at the top of the rolltop to cinch down and really prevent anything from getting into the bag. I personally didn’t use this feature, and everything still stayed safe and dry in my pack, even when I got caught in a few rain storms.
These side buckles also act as compression straps, meaning I could pull the top down and compress the bag more if I wanted to. I really like this option for closing the bag, but it also created one of the negatives I had with the bag. In order to make the lines clean and keep excess webbing from hanging off the bag, the ends are tucked into and attached inside the side water bottle pockets. Arch have sewn a loop at the bottom of each pocket, and tied the side compression webbing to those loops. This is the cleanest way to attach the side compression straps without having some lethal webbing just dangling off the pack.
Unforunately, this “knot” creates an obstruction when using these pockets for a water bottle. I had to pay attention, to be sure to go in front of the knot, or my water bottles would not sit all the way inside the pocket. This isn’t a strict negative for the Grisetti since it was a feature that I requested for the bag, and not a standard to the bag build, but it’s been a lesson for me.
Another feature I had added was a durastretch pocket across the front panel exterior. I found it to be very useful for things like my video journal, which I grab frequently through the day. I also used it when I was on dad duty: made a great place to toss all the things that my kid has in their hands when they walk out the door.
The one issue I had with this pocket was the cordura binding that Arch ran across the top, as it really prevented me from over stuffing the pocket. If you have kids…. you know how much stuff they travel with. The binding does allow for the pocket to be cinched down to prevent things from falling out, but I’d prefer it to not be there and allow be to really fit a lot more into the pocket.
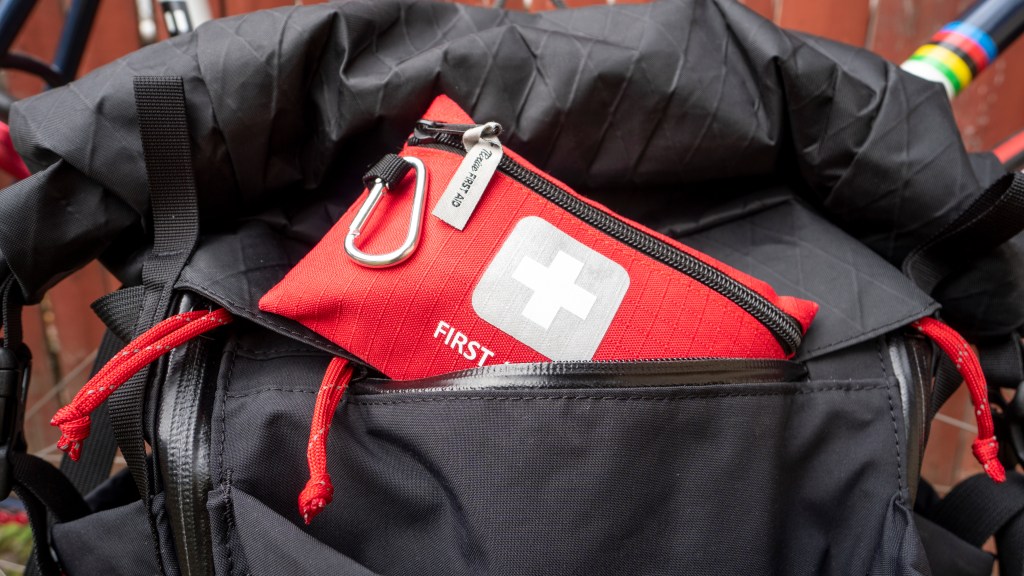
Behind my durastretch pocket, Arch include a zippered pocket that I used for more secure items. This pocket is tall (the whole front panel of the Grisetti), so things could get a little lost in there. I used this for things like my first aid kit or spare masks: things I needed, could get without digging through the whole bag for, but didn’t need all the time.
Another pocket between the Grisetti’s shoulder straps was a perfect place to toss my work ID badge and some writing implements. The pocket is big enough to probably fit some sunglasses in. I found this to be the perfect place for quick access things. I always need to grab a pen, my work ID almost every day, and I tossed a snack bar or two in there for the few times we took a trip.

Moving to the inside of the pack we have 4 pockets: two mesh zipper pockets on the front panel and two liner pocket on the sides. The mesh pockets are a great spot to dump otherwise loose items. They work well, as I can see what is in them. The mesh used isn’t very stretchy, preventing me from over-packing them, but they still have enough room for me to find a lot of uses.
The liner pockets are pleated so they expand into the main body of the bag. They are versatile: I kept a rain jacket in one and a tool kit in the other, but they would work for water bottles. I would like to have seen one of these side pockets maybe be set up for an admin panel… but that is always something I can build out on my own and stick in there.
Finally, the rear of the bag has direct access to the laptop sleeve. It is a nice long zipper that grants full access to the sleeve area. I was easily able to fit a 2016 15″ MBP in there with no issues. The placement of the zipper is prime on the Grisetti. It is on the seam of the back panel, so you can unzip and slide your laptop in or out. I hate when a bag has the zipper off set from the seam, since the laptop won’t slide in without pulling back on the zipper area and tucking the computer into the bag. This minor feature really made me happy.
What’s Perfect
- The bag is a blank canvas for you to build your “Perfect Pack.”
- Quality materials with great attention to detail.
- Blends in both the EDC and Office environment.
What’s Not
- Someone who needs a quick ready made bag.
- For the faint of heart… this bag is pretty pricey.
Wrap Up
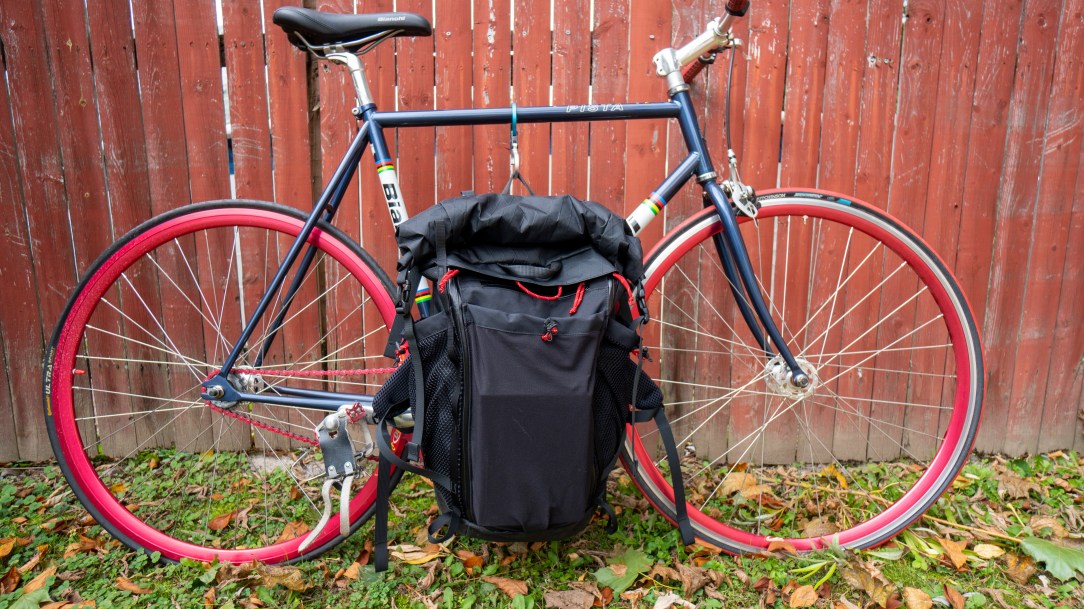
All in all the Arch Grisetti is a solid pack and I am satisfied with it. It carried well and handled everything I threw at it. It was comfortable to wear for longer periods of time and wore well in the summer heat.
Being a rolltop with two additional points of access really allows this bag to be used in multiple environments. You can really stuff a lot into it with the expansion, while still being able to access the whole bag via the front opening and rear laptop entry.
The wait time might seem long and the price point might seem high, but this is a custom bag, built by hand to your specs and delivered from the other side of the world. If I were to build up another Arch bag today, I would tweak a few things here and there, but ultimately the build would be very similar to what I have here.
Disclaimer: The Arch Grisetti was purchased privately and subsequently used for this review. The content of the review was not discussed with Arch prior to publication. Our reviews are unbiased and never altered to keep a brand happy.